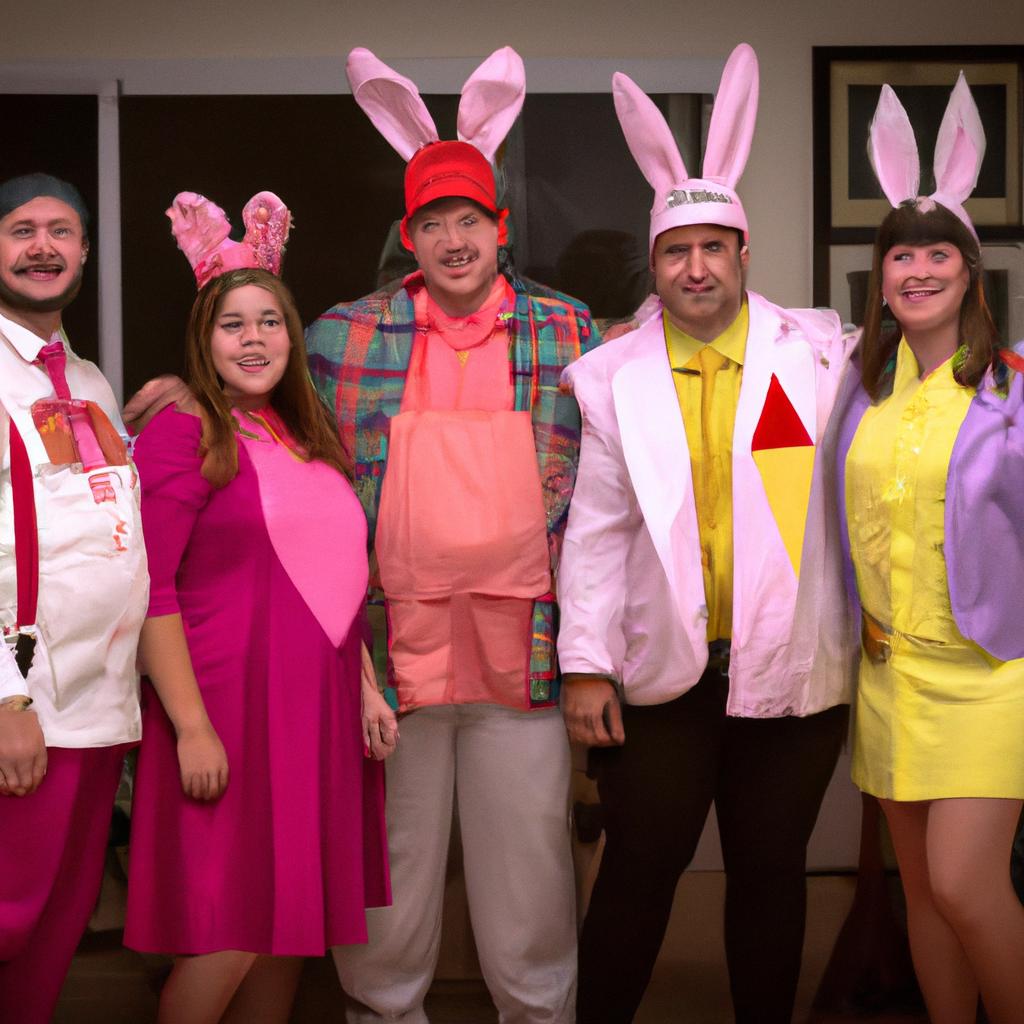
Are you a fan of Roger Rabbit and looking for a unique costume idea? Look no further than creating your own diy roger rabbit costume! Not only is it a fun and creative way to stand out at your next costume party, but it also allows you to customize your costume to fit your specific preferences. Rabbitfact
Creating a DIY costume is not only cost-effective but also allows you to showcase your creativity and individuality. Plus, it’s a fun project that you can do with friends or family, creating memories that will last a lifetime.
In this article, we will provide you with a step-by-step guide on how to create your very own DIY Roger Rabbit costume, complete with a list of necessary materials and additional accessories to enhance your costume’s overall look. So, let’s get started!
Materials Needed
List of Materials
To create your DIY Roger Rabbit costume, you will need the following materials:
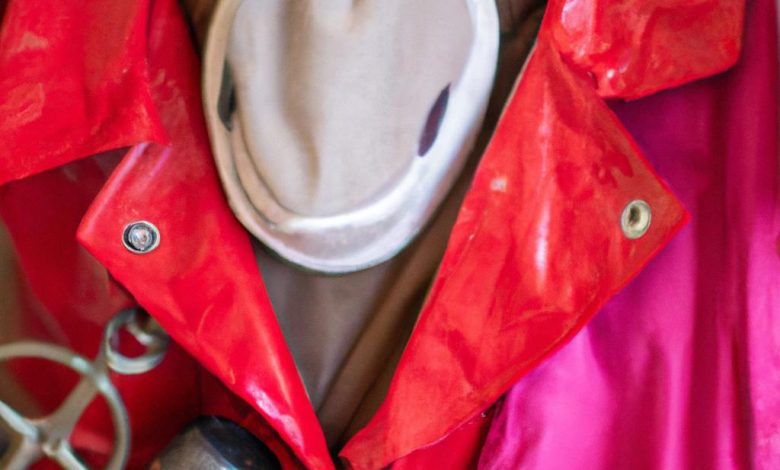
- Red overalls
- White gloves
- White sneakers
- Red bow tie
- White dress shirt
- Black suspenders
- White foam board
- Red fabric
- White felt
- Black fabric paint
- Acrylic paint in black, white, and red
- Paintbrushes
- Hot glue gun and glue sticks
- Scissors
Explanation of Each Material’s Purpose
- Red overalls: Provides the base for the costume and gives the appearance of Roger Rabbit’s iconic outfit.
- White gloves: Adds a touch of authenticity to the costume and completes the look of Roger Rabbit’s hands.
- White sneakers: Mimics Roger Rabbit’s white feet and adds comfort for walking or dancing.
- Red bow tie: Adorns the white dress shirt, completing the outfit’s look.
- White dress shirt: Adds a formal touch to the costume and provides a base for the bow tie.
- Black suspenders: Holds up the overalls and adds a classic touch to the outfit.
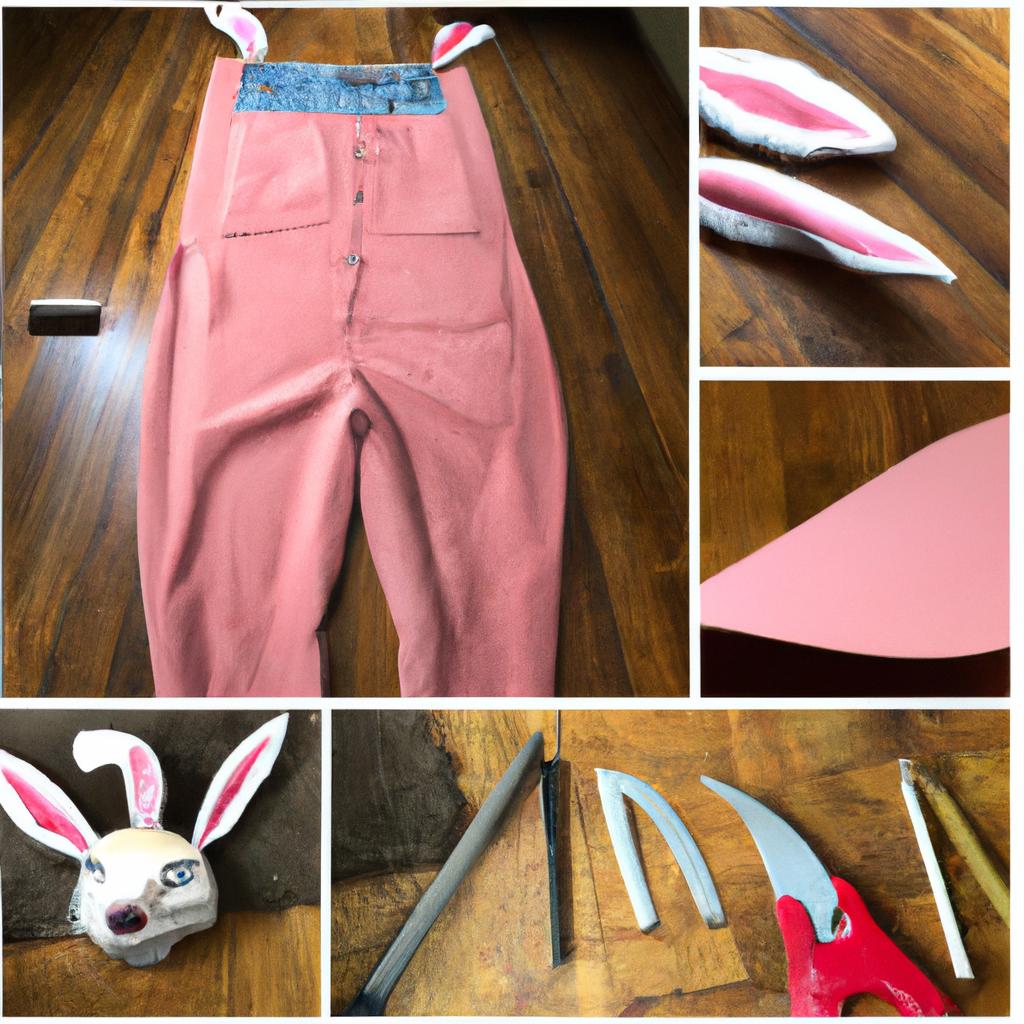
- White foam board: Used to create the ears and face of Roger Rabbit.
- Red fabric: Covers the foam board to create the ears and face of Roger Rabbit.
- White felt: Used to create the eyes and teeth of Roger Rabbit.
- Black fabric paint: Used to paint the white gloves and sneakers to resemble Roger Rabbit’s black features.
- Acrylic paint in black, white, and red: Used to paint the foam board, creating the appearance of Roger Rabbit’s face.
- Paintbrushes: Used to apply paint to the foam board and gloves/sneakers.
- Hot glue gun and glue sticks: Used to attach the foam board ears and face to the red overalls and white dress shirt.
- Scissors: Used to cut the foam board, red fabric, and white felt to the desired shape and size.
Step-by-Step Guide
Creating a DIY Roger Rabbit costume may seem daunting at first, but with our step-by-step guide, you’ll be able to make it with ease.
Materials Needed
Before getting started, you will need to gather the following materials:
- White coveralls
- Red overalls or shorts
- Yellow gloves
- Red bow tie
- Bunny ears headband
- White cotton tail
- Black and white acrylic paint
- Paintbrushes
- Hot glue gun
- Scissors
Instructions
- Begin by painting the white coveralls and the red overalls or shorts with black acrylic paint, creating the distinct black and white look of Roger Rabbit.
- Paint the red bow tie with white acrylic paint to create the white polka dots.
- Using the hot glue gun, attach the red bow tie to the white coveralls, in the center of the chest.
- Next, attach the bunny ears headband to the top of the white coveralls.
- Paint the yellow gloves with black acrylic paint, creating the black cuffs and three fingers.
- Attach the white cotton tail to the back of the white coveralls, just above the buttocks.
- Finally, put on the red shorts or overalls and the yellow gloves to complete the costume.
Tips and Tricks
- To ensure a clean and neat paint job, use painter’s tape to create clean lines before painting.
- If you’re not confident in your painting skills, you can purchase pre-painted coveralls and overalls to save time and ensure accuracy.
- For a more comfortable fit, you can purchase a bodysuit instead of coveralls and shorts.
- To create the bunny ears, you can use white and pink felt to cut out ear shapes, and attach them to a headband using a hot glue gun.
With these instructions and tips, you’ll be able to create your very own DIY Roger Rabbit costume in no time!
Costume Accessories
Once you have created the base of your DIY Roger Rabbit costume, it’s time to add some finishing touches to enhance its overall look. Here are some additional items you can incorporate into your costume:
Accessories to Purchase
- Red suspenders: Roger Rabbit is known for his iconic red suspenders, which you can easily purchase from a clothing store or online retailer.
- White gloves: White gloves are a classic accessory for any cartoon character and can be found at costume stores or online.
- Oversized cartoon bowtie: To complete the look, add an oversized cartoon bowtie, which can be found at party supply stores or made using fabric and a template.
Accessories to Create
- Bunny ears: To create bunny ears, use pink and white felt and cut them into ear shapes. Attach them to a headband using hot glue or sewing them on.
- Carrot prop: Roger Rabbit is often seen with a carrot prop, which can be made using foam or cardboard and painted orange. Add green tissue paper to the top to complete the look.
- Cartoon eyes: To create oversized cartoon eyes, cut out circles from poster board or cardboard. Paint them white and add black pupils. Attach them to a headband or hat using hot glue.
By incorporating these accessories into your DIY Roger Rabbit costume, you can take your costume to the next level and stand out from the crowd. Whether you choose to purchase or create your accessories, remember to have fun and let your creativity shine through!
Cost Comparison
DIY vs Pre-Made Cost
When it comes to costume shopping, pre-made costumes are always an option. However, they often come with a hefty price tag. On the other hand, creating your DIY Roger Rabbit costume can be cost-effective and allows you to customize your costume to your liking. With DIY costumes, you can often find materials at a lower price point, and you also have the option to reuse materials for future costumes.
Cost-Effectiveness Analysis
Creating a DIY Roger Rabbit costume is not only cost-effective, but it also allows you to showcase your creativity and uniqueness. You can customize your costume to fit your preferences and stand out from the crowd. Additionally, by reusing materials or creating costumes with items you already have, you can save money in the long run and reduce waste.
Overall, creating a DIY Roger Rabbit costume is a cost-effective and creative way to stand out at your next costume party. With the added bonus of customization and reusability, it’s a win-win situation. So, why not give it a try and see how much money you can save while still creating a one-of-a-kind costume?
Conclusion
In conclusion, creating a DIY Roger Rabbit costume is a fun and cost-effective way to showcase your creativity and individuality. By following our step-by-step guide and using the necessary materials, you can create a unique costume that is sure to impress at your next costume party.
Not only does creating a DIY costume allow for customization, but it also creates memories with friends and family that will last a lifetime. Plus, the cost-effectiveness of creating a DIY costume compared to purchasing a pre-made costume is undeniable.
Remember, if you need additional help or inspiration, there are countless resources available online, including tutorials, forums, and social media groups. And don’t forget to share your creation with the world!
Thank you for reading our guide on creating a DIY Roger Rabbit costume. We hope you found it helpful and informative. For more fun and creative costume ideas, visit rabbitfact.com.
Conclusion: So above is the DIY Roger Rabbit Costume: A Step-by-Step Guide article. Hopefully with this article you can help you in life, always follow and read our good articles on the website: rabbitfact.com